Create Activity Template
This guide walks you through creating a new activity template (template) in Turfpal, which will serve as a template for tasks created in the Planner module.
Overview
Activity types are templates that standardize task creation in your planning workflow. You can either start from an existing template in the library or create a completely new template from scratch.
Accessing Activity Template Creation
- Navigate to Planning > How-Tos > Activity Template in the sidebar menu
- Click the "Add Task Activity template" button
You'll be taken to the Activity Template Library where you can choose your starting point.
Step 1: Choose Your Starting Point
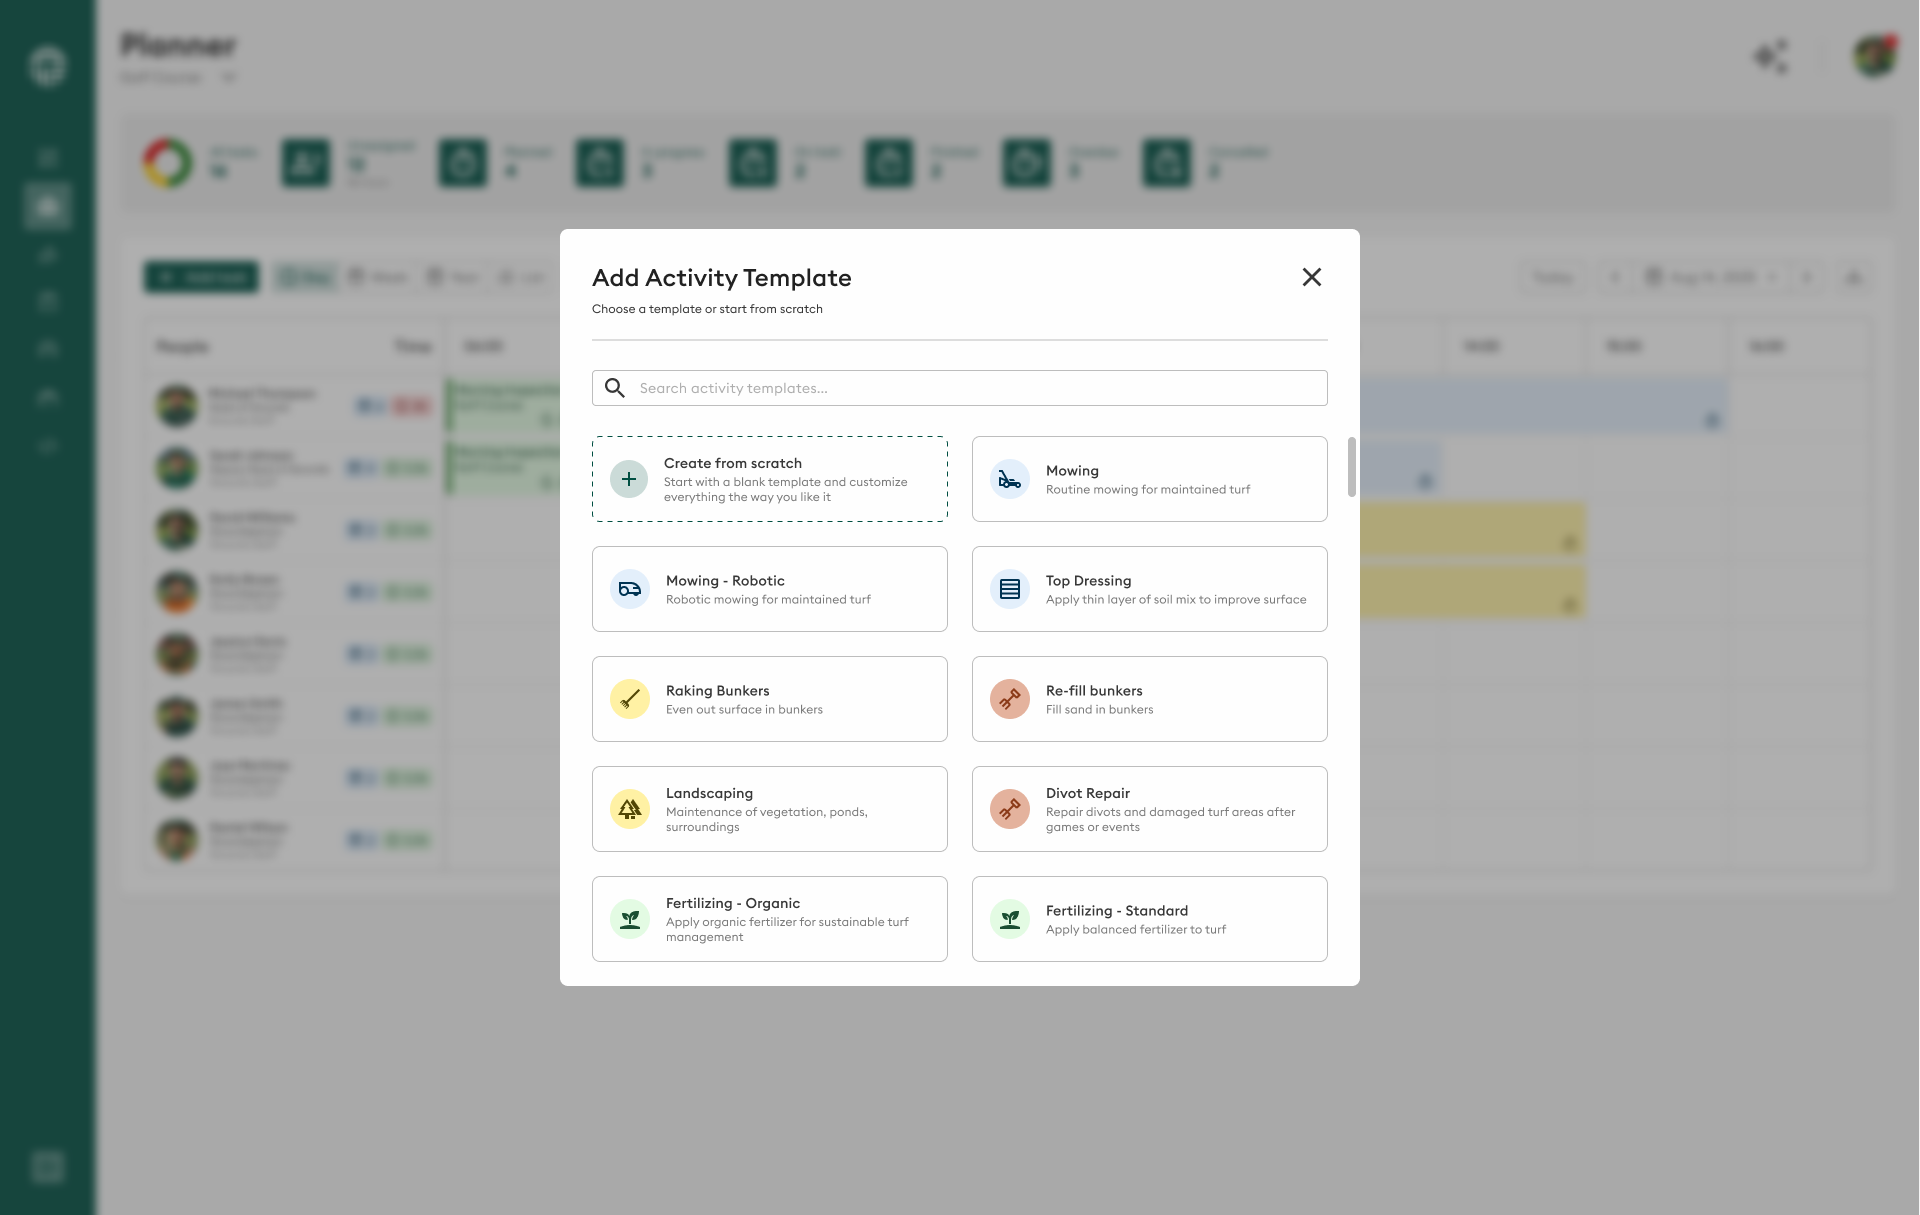
The Library provides two options for creating an activity template:
Option 1: Start from Existing Template
- Browse the library of pre-built templates
- Select a template that's close to what you need
- Modify it to suit your specific requirements
- This is the fastest way to create standardized activities
Option 2: Create From Scratch
- Click "Create from scratch" or similar option
- Build a completely custom template
- Full control over all fields and settings
Starting from an existing template saves time and ensures consistency with proven templates. Only create from scratch when you need something completely unique.
Step 2: Configure Template Details

Basic Information
Set up the foundational details for your activity template:
- Active: Toggle this on to make the template immediately available
- Name: Enter a clear, descriptive name (e.g., "Mowing - Football Pitch", "Line Marking - Premium")
- Group: Select or create a category (e.g., "Mowing", "Maintenance", "Event Preparation")
- Language: Set the language for this template
Use descriptive names that clearly indicate the purpose. Include specifics like surface type or service level when relevant.
Additional Options

Configure template behavior:
- Show venue selection: Enable if users need to specify location
- Is venue selection mandatory: Make venue selection required
- Show equipment selection: Enable equipment assignment
- Is equipment selection mandatory: Require equipment assignment
- Allow inventory selection: Enable product/supply selection
- Is activity completed when all data is filled in: Auto-complete when form is filled
- Available as type in maintenance window: Show in maintenance scheduling
- This activity is an assessment only: Mark as assessment vs operational activity
Step 3: Add Custom Fields
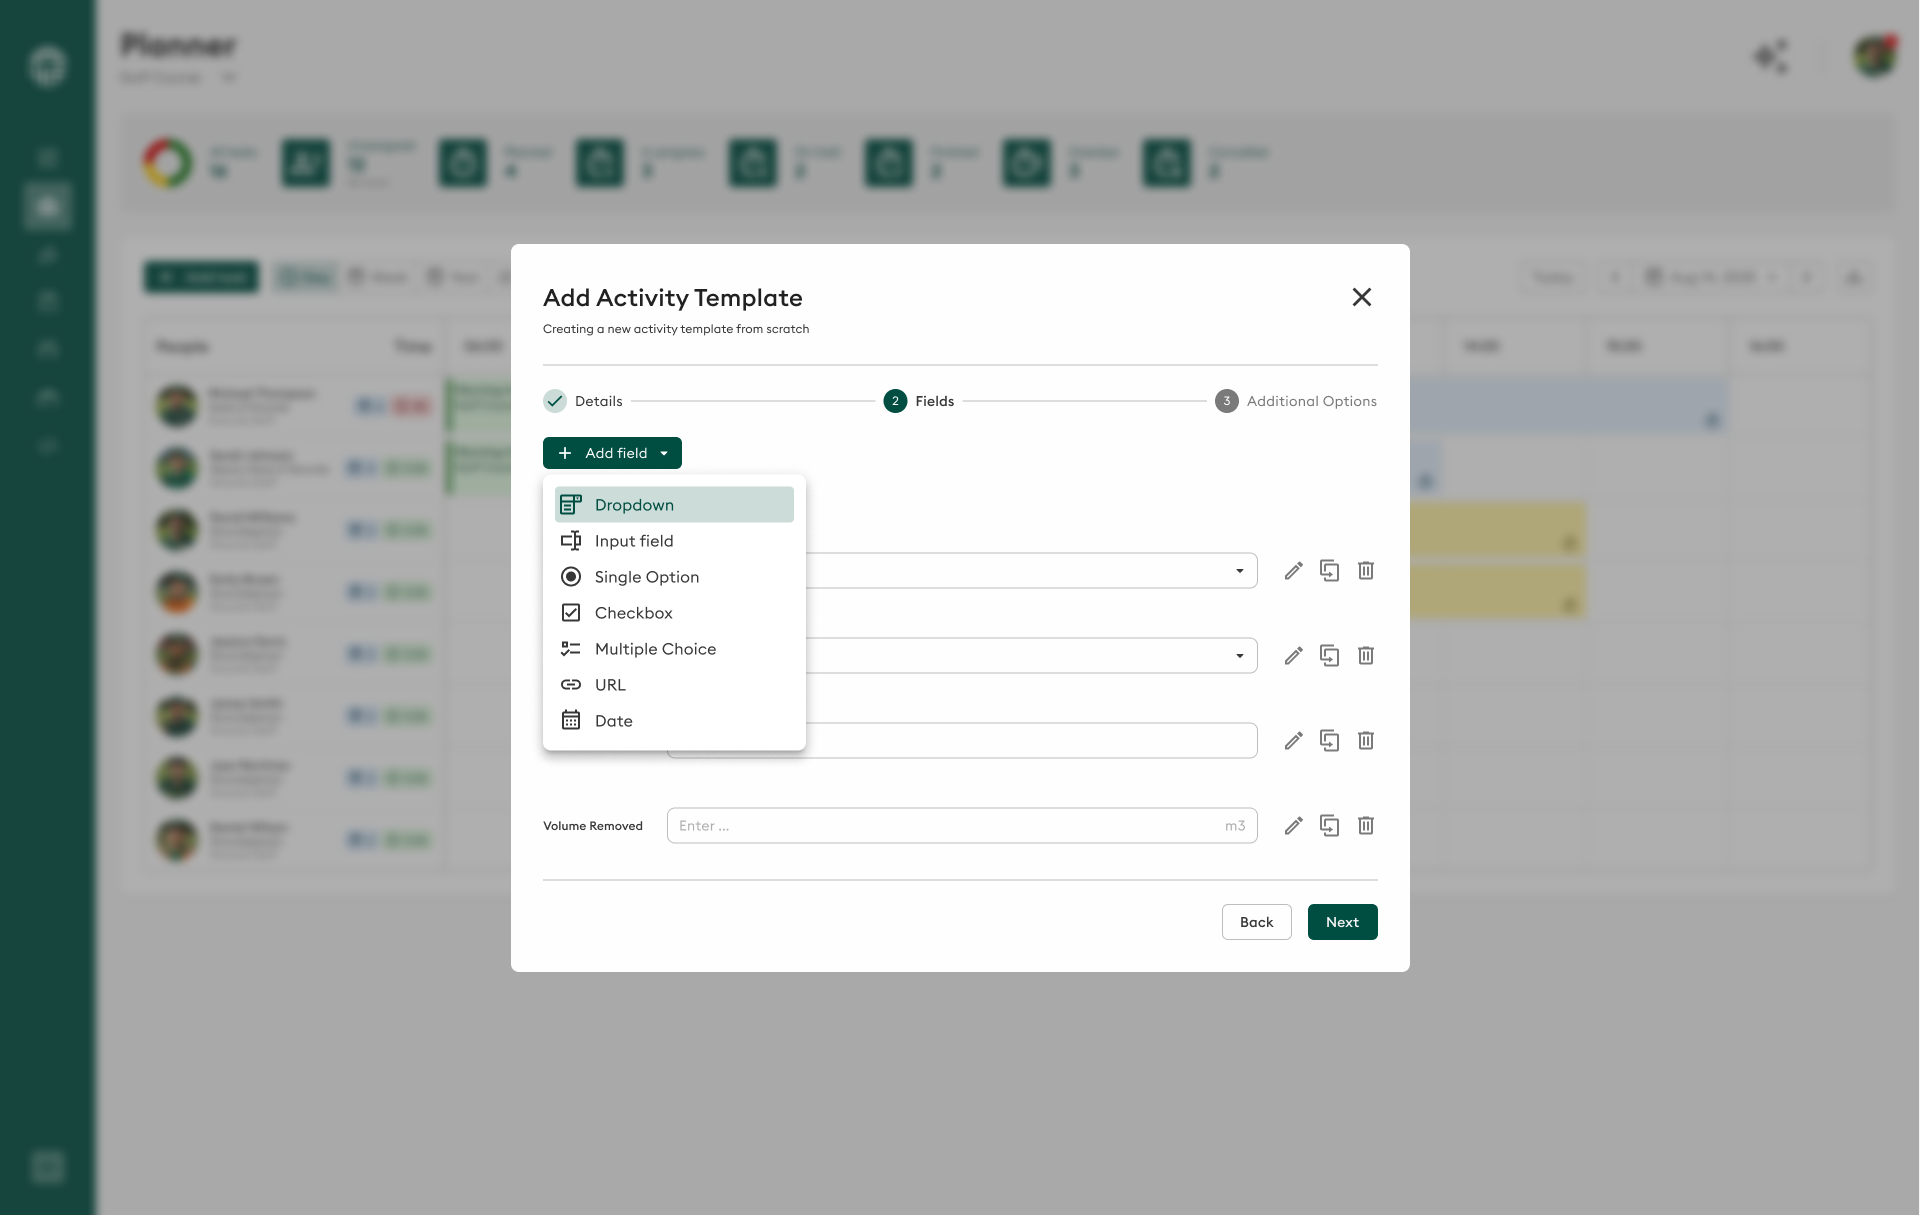
Custom fields capture specific information relevant to your activity. Click "+ New field" to add fields.
Field Types Available
Checkbox
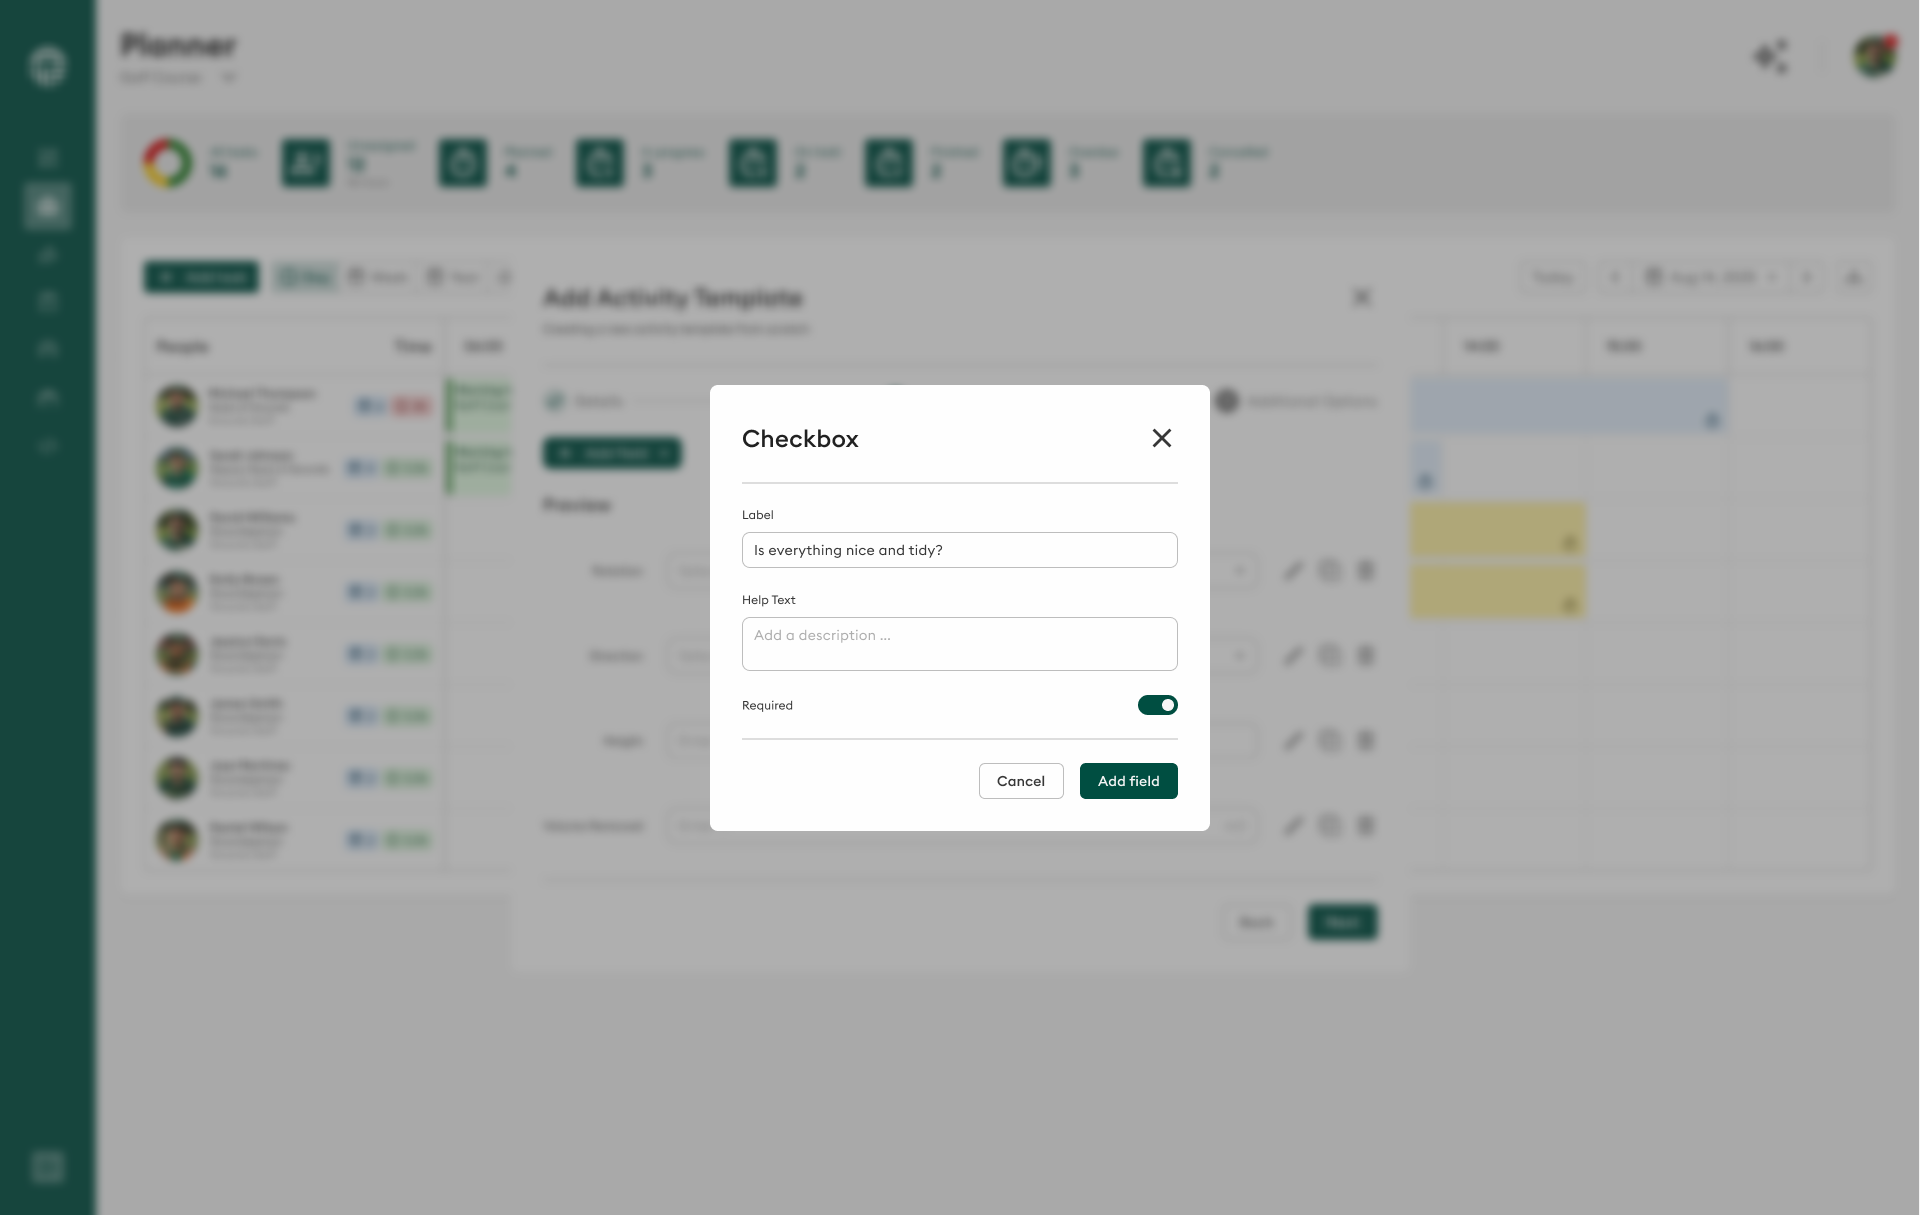
Perfect for yes/no or true/false data points:
- Example: "Weather suitable?", "Equipment inspected?"
- Use when: Binary choices are needed
Single Option (Radio Button)
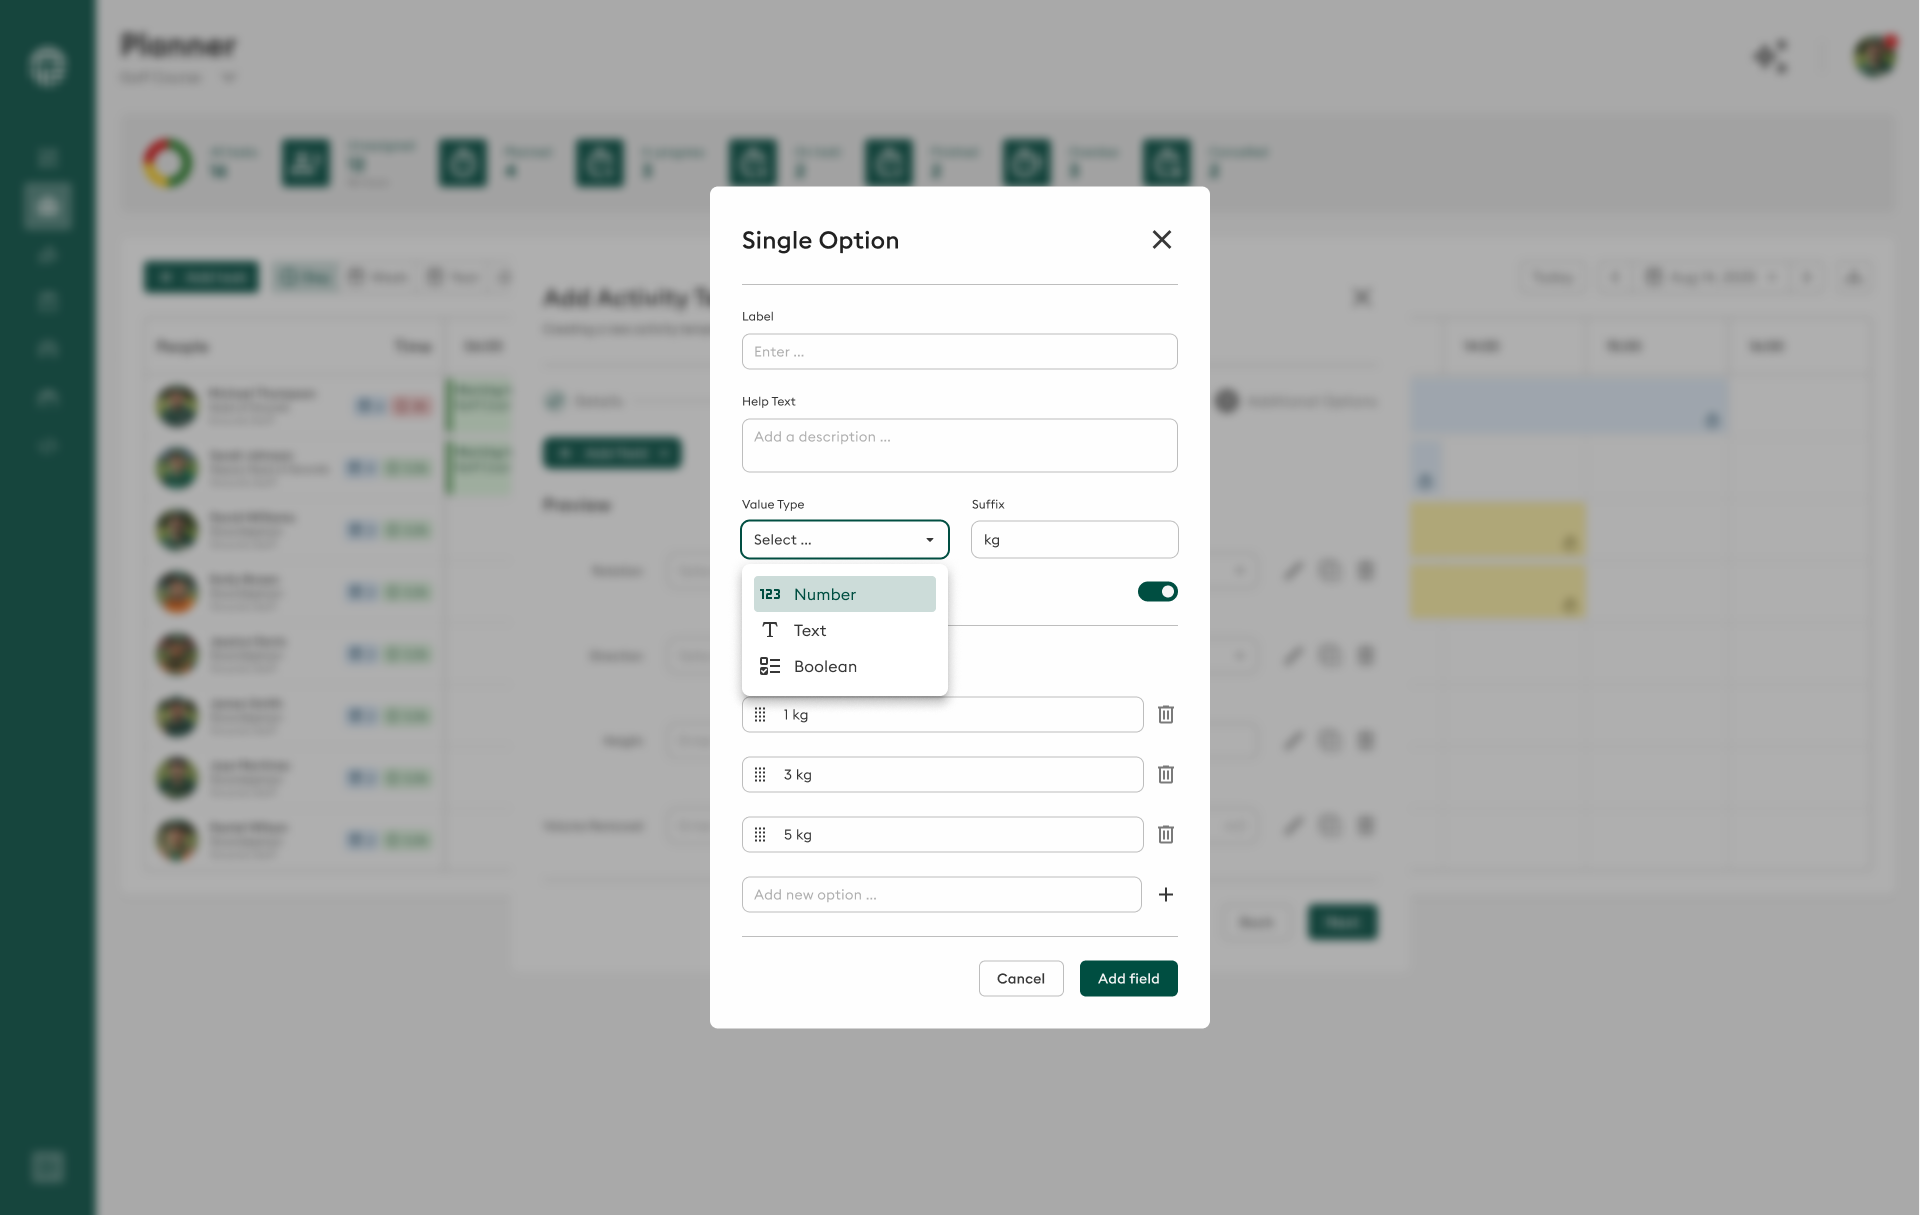
Choose one from multiple options:
- Example: "Grass condition: Poor/Fair/Good/Excellent"
- Use when: User must select exactly one choice
Multiple Choice
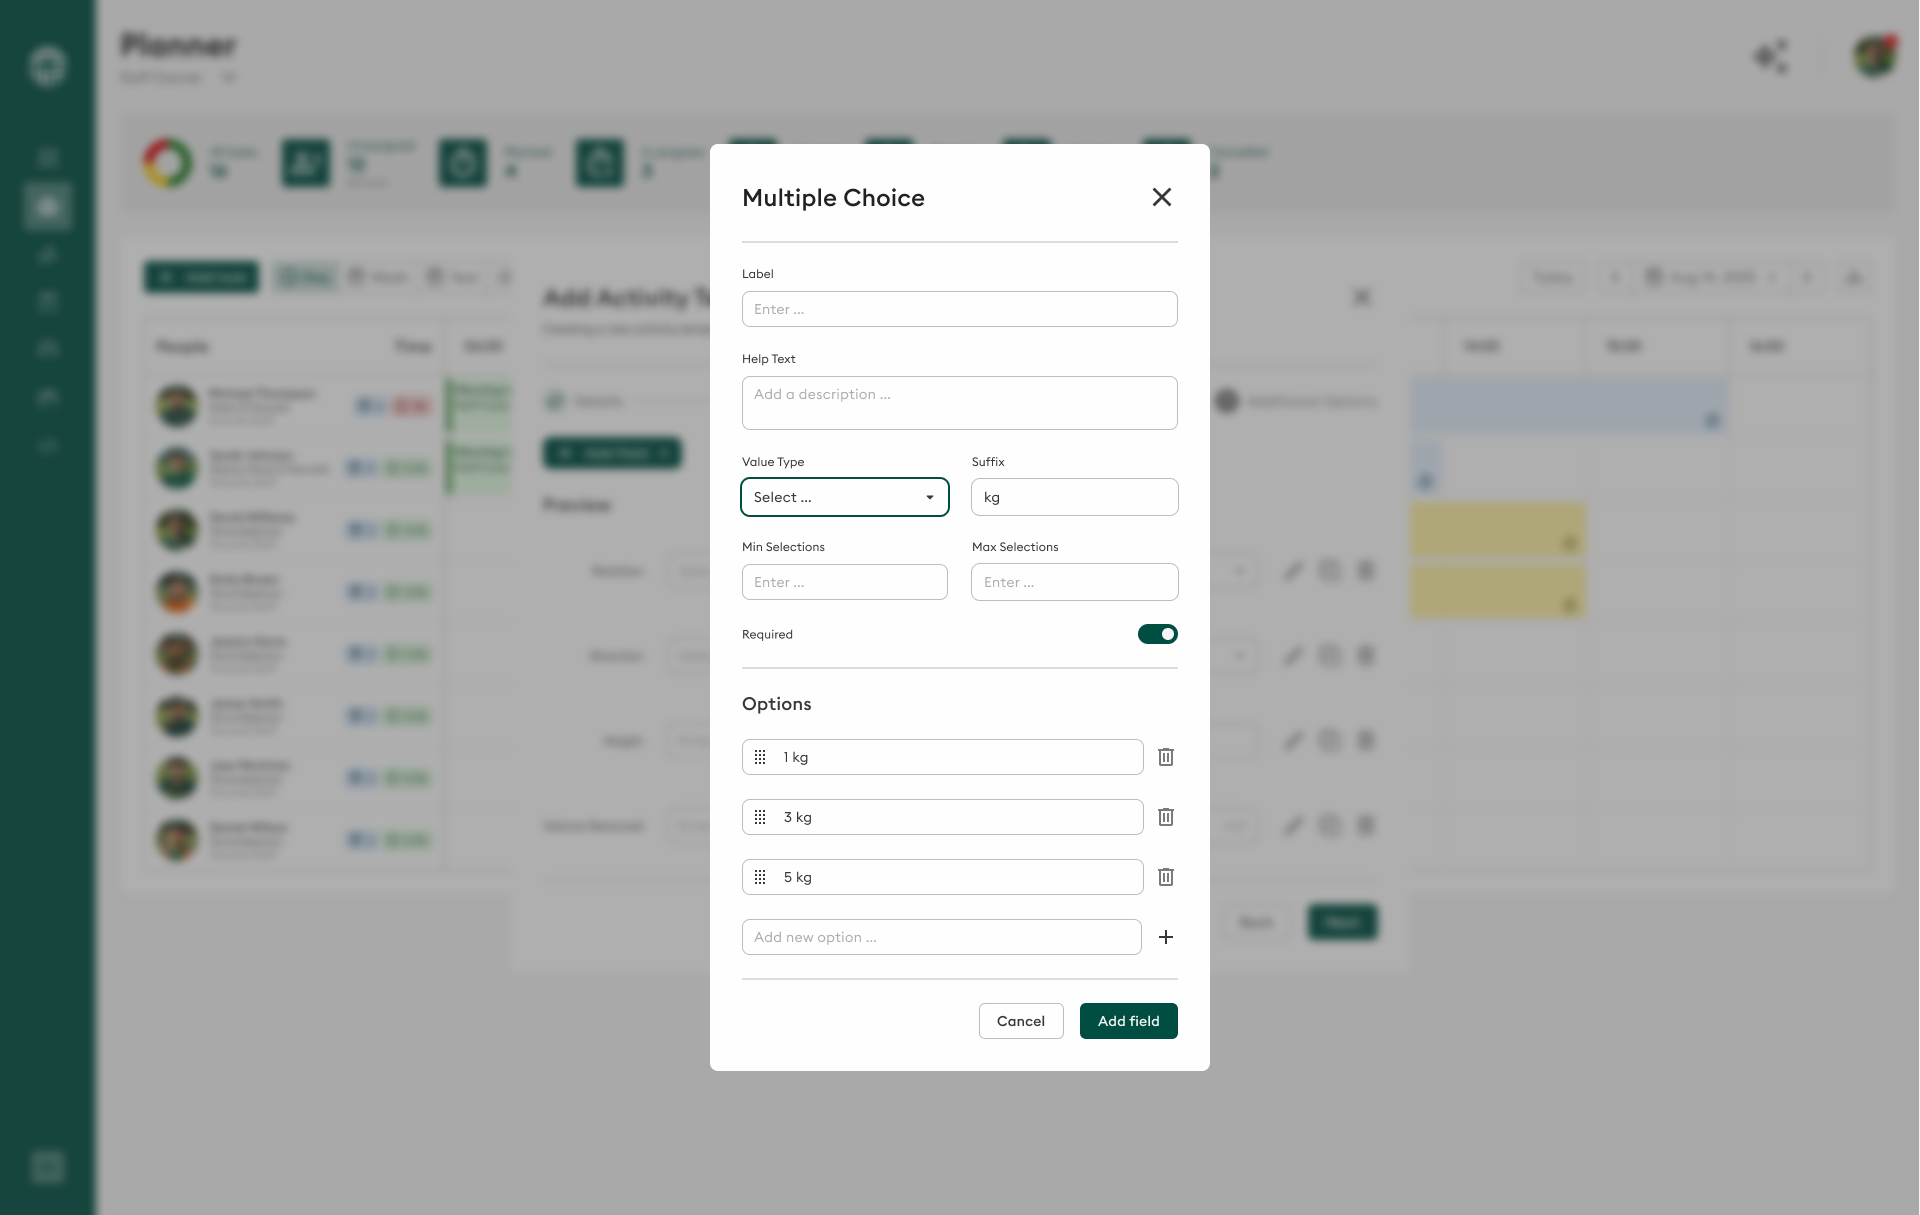
Select multiple options from a list:
- Example: "Weather conditions: Sunny, Windy, Light rain"
- Use when: Multiple selections are valid
Dropdown
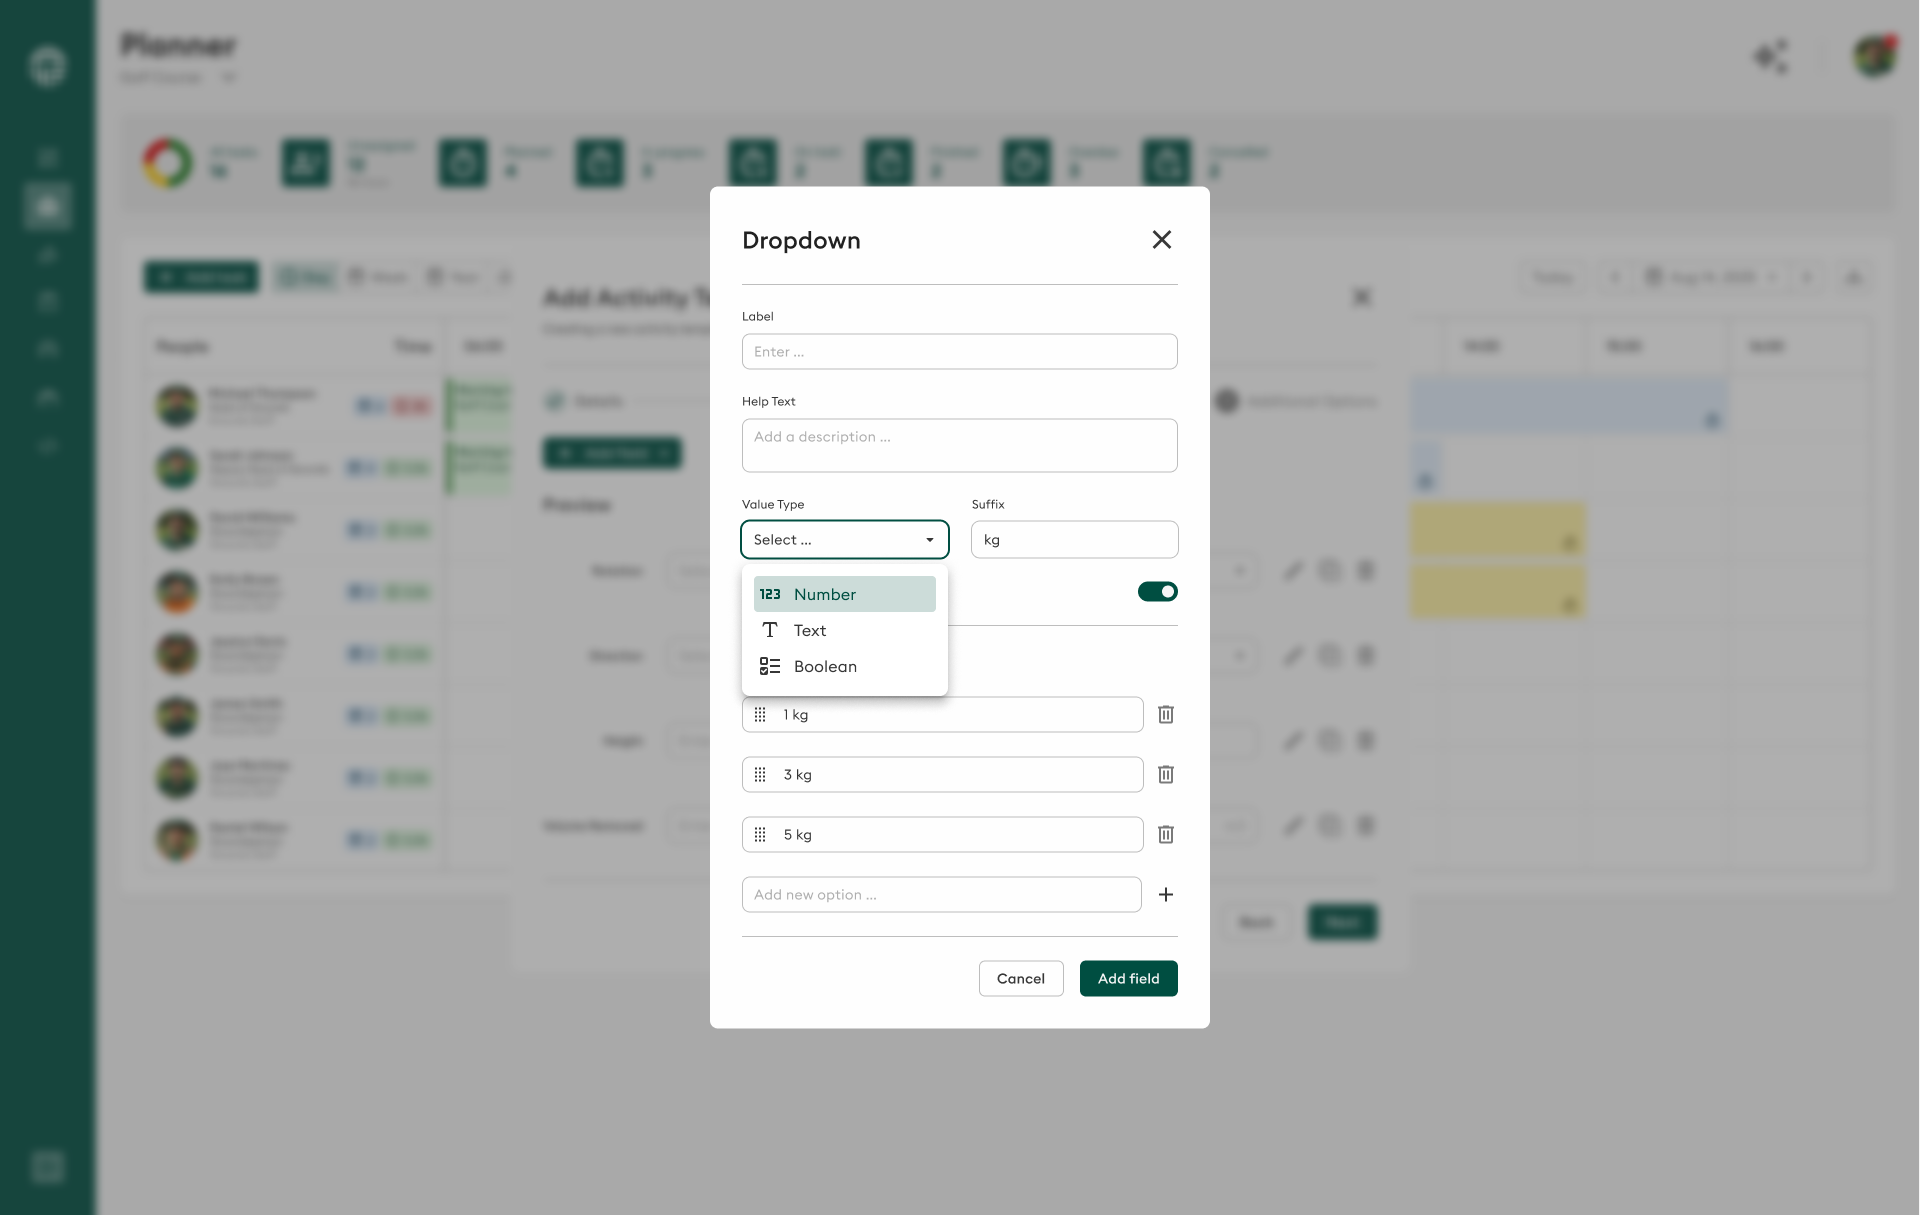
Select from a dropdown menu:
- Example: "Grass type: Bentgrass, Bermuda, Fescue"
- Use when: You have many options and want to save space
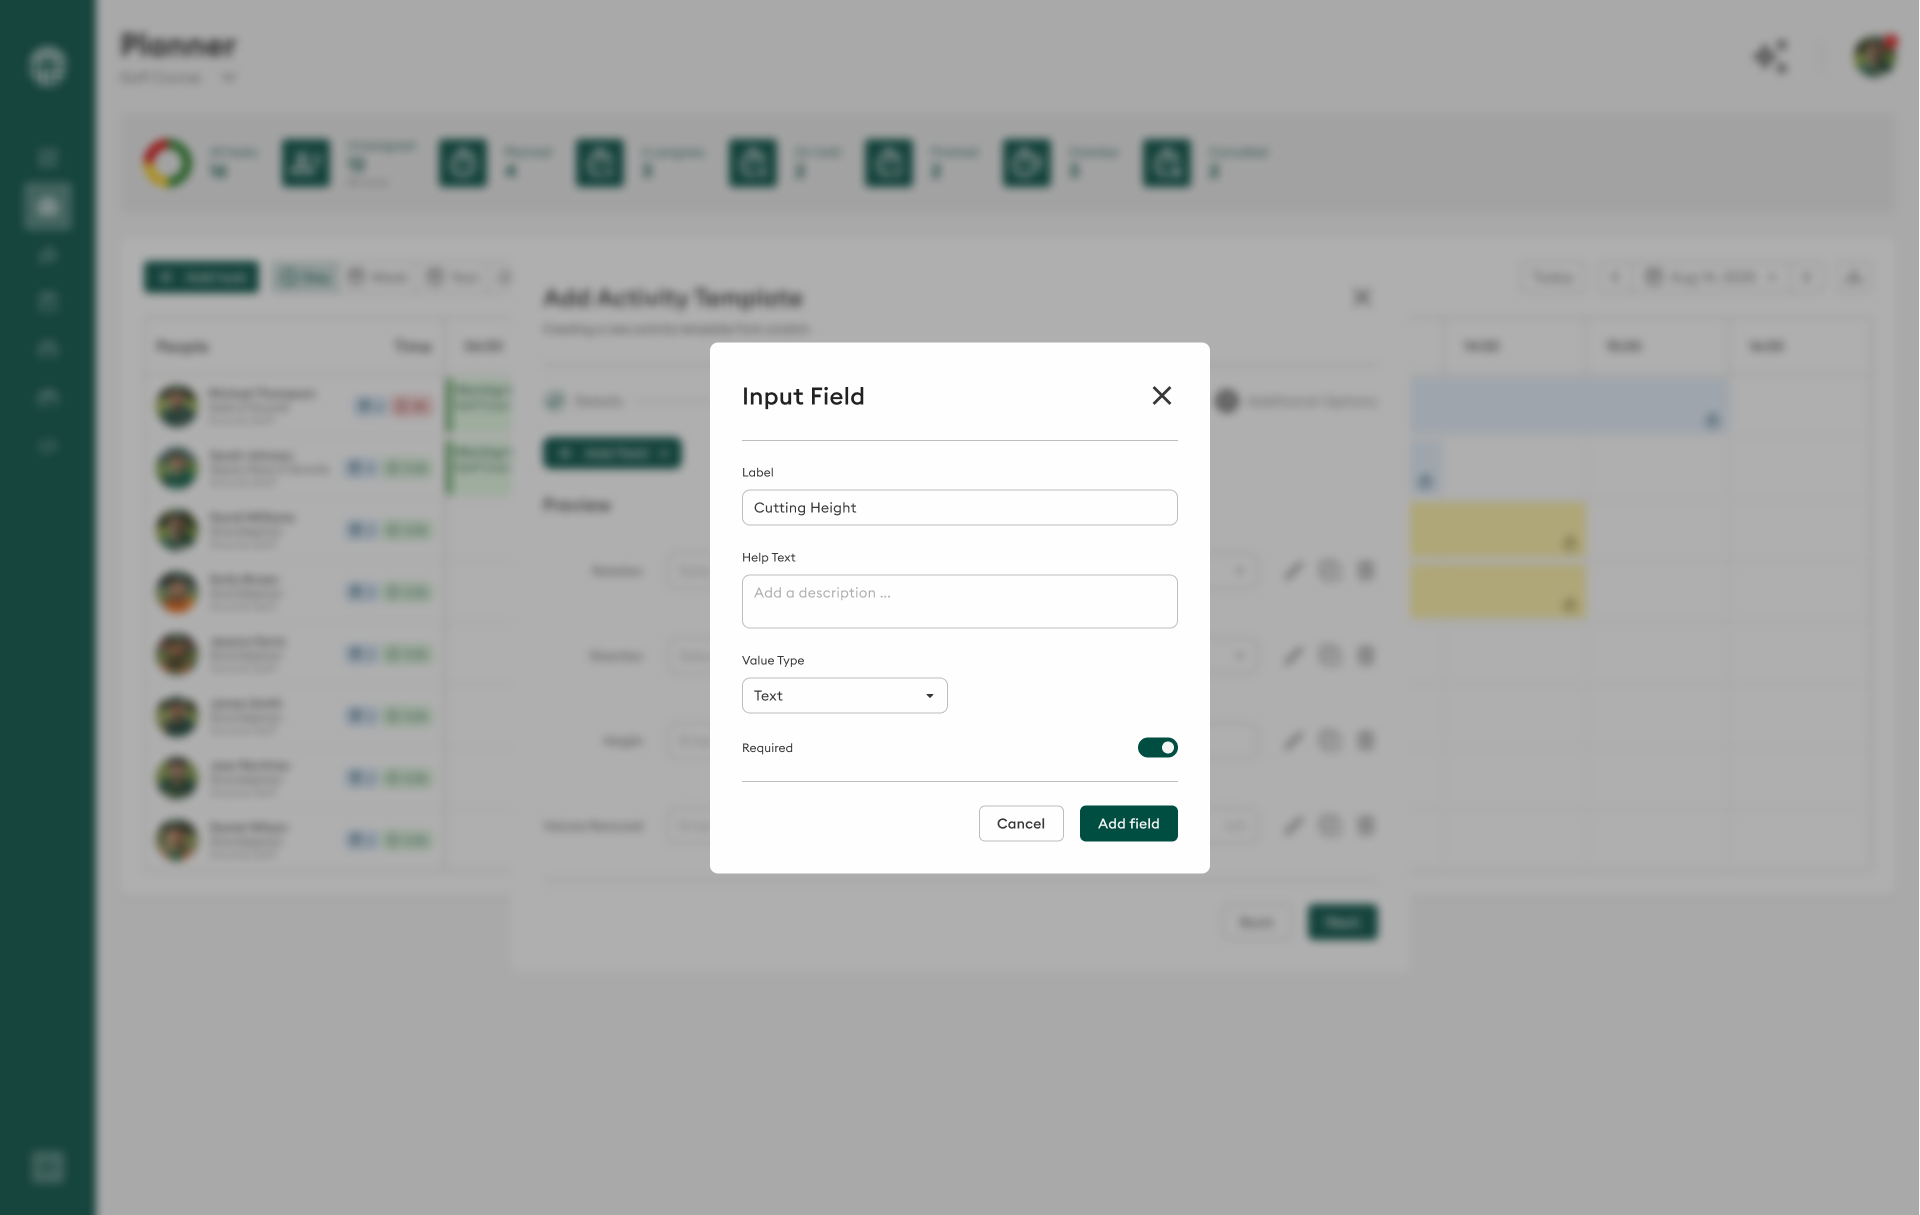
Input Field
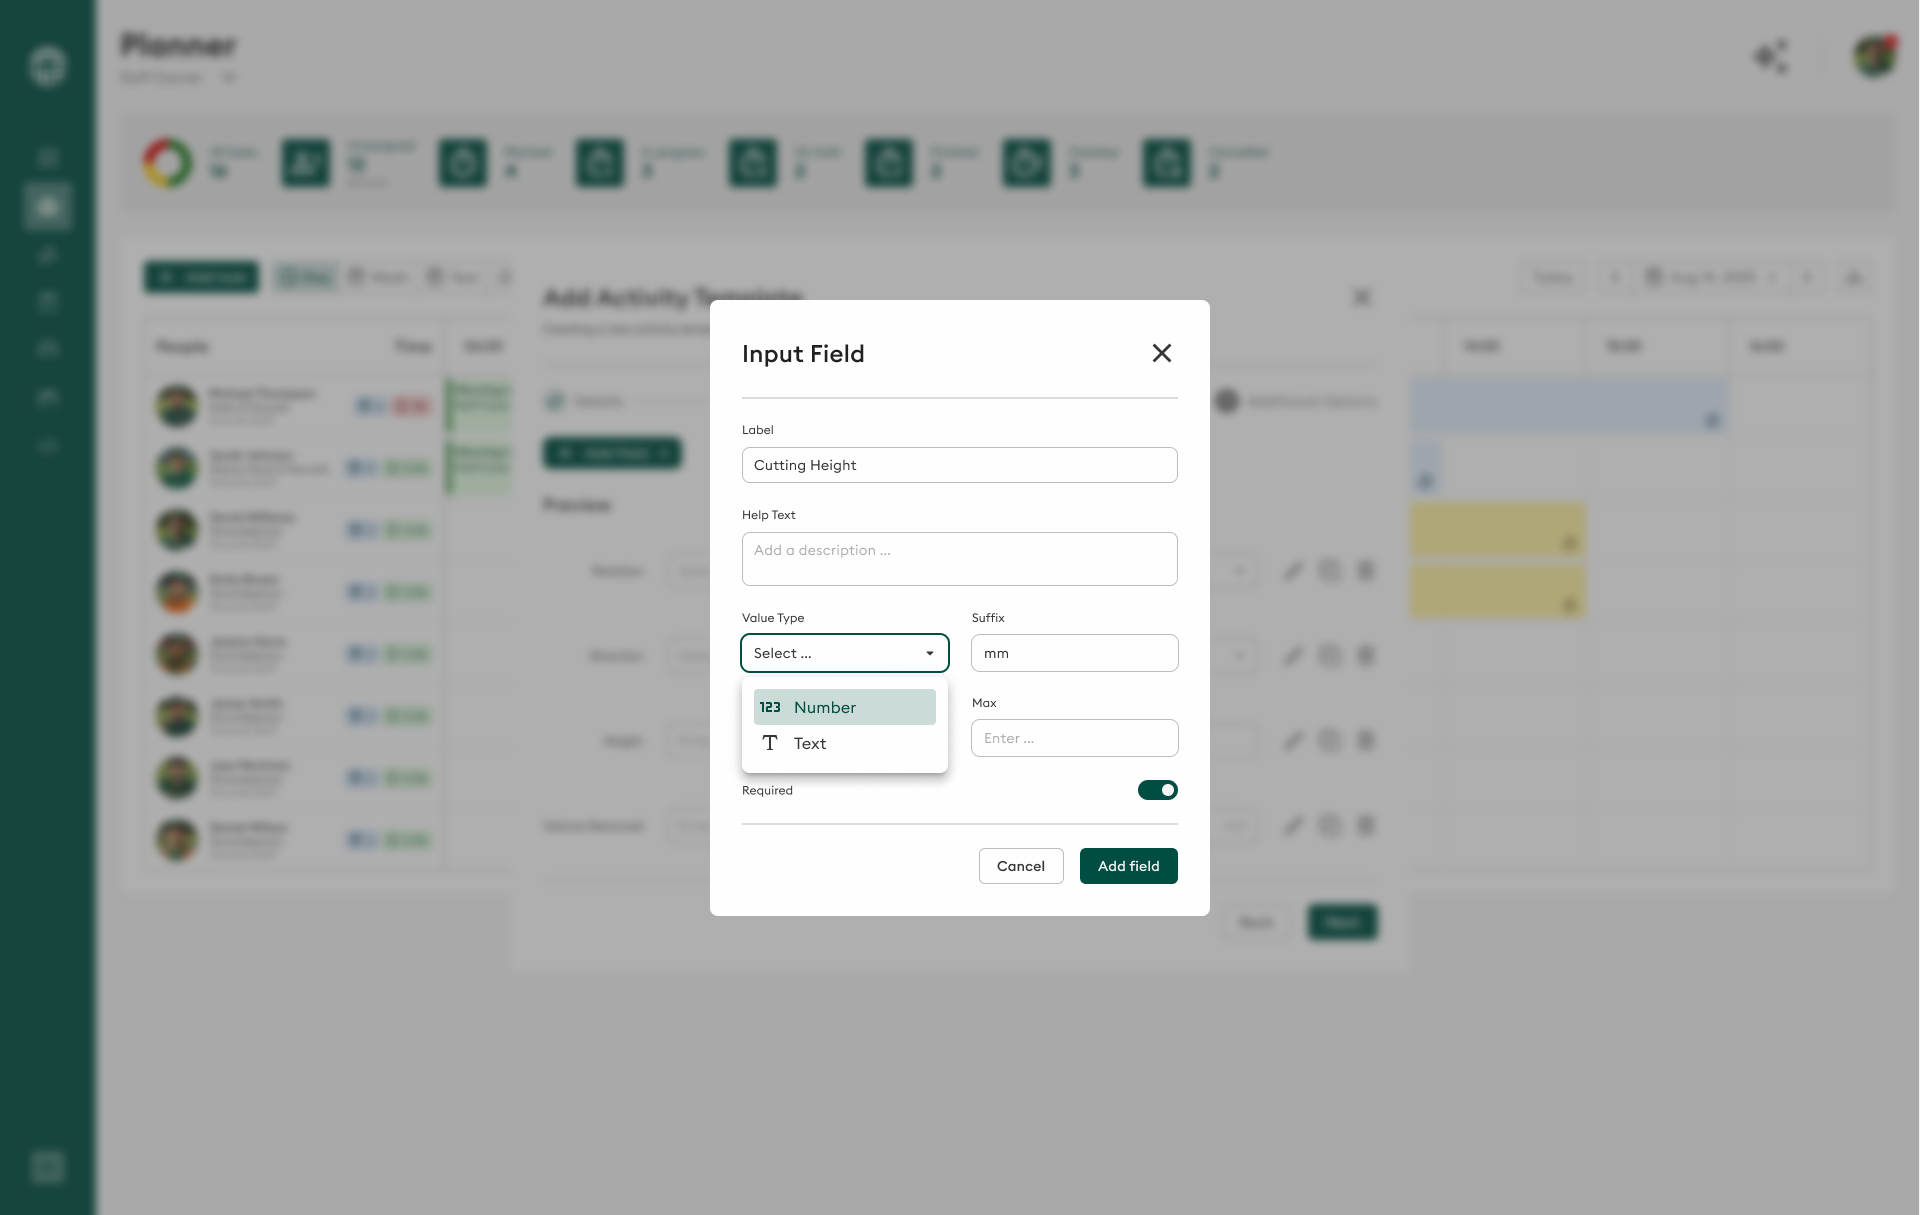
Free-text input for general information:
- Example: "Notes", "Special instructions"
- Use when: Open-ended text is needed
Text
Longer text input for detailed information:
- Example: "Detailed observations", "Work summary"
- Use when: Extended descriptions are needed
Number
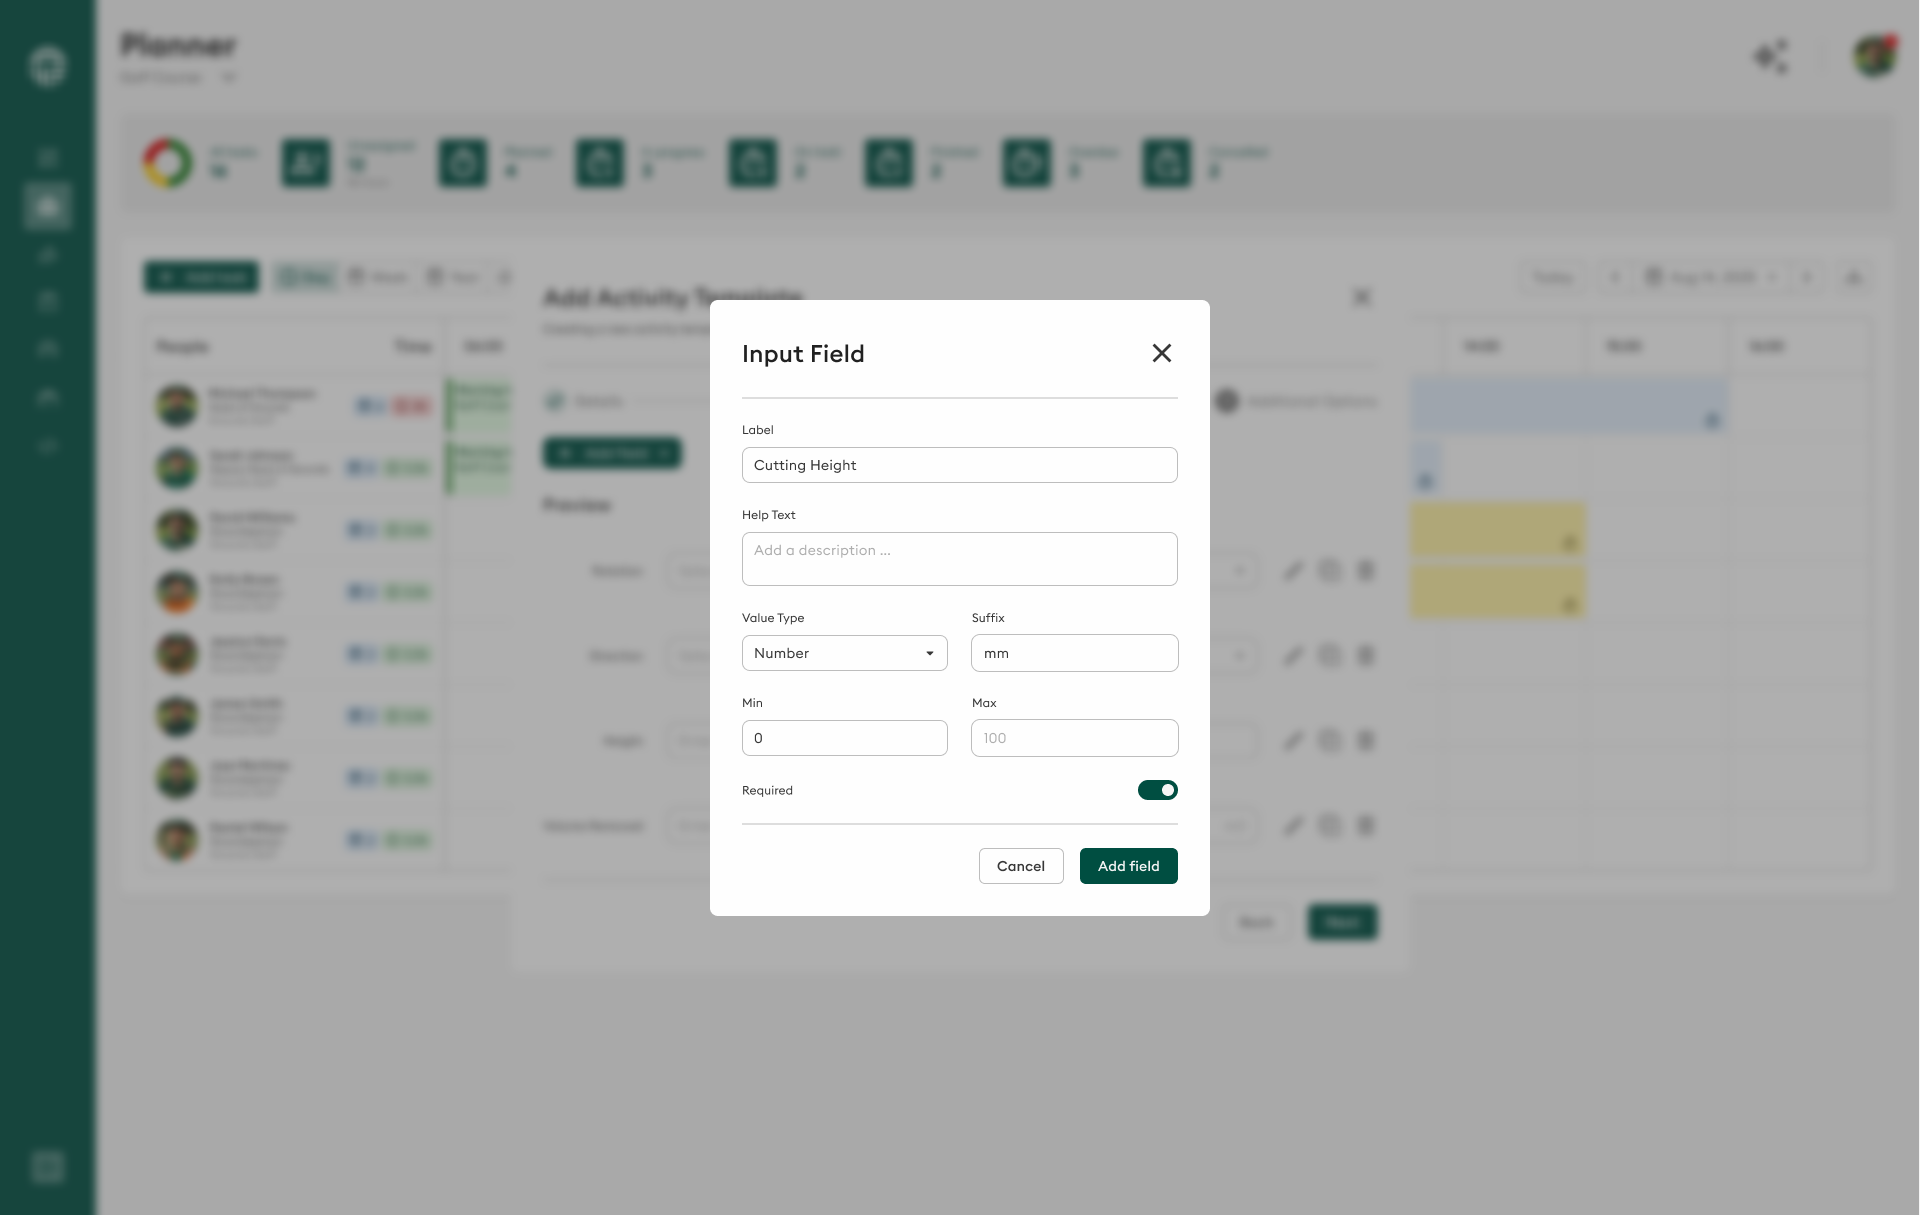
Numerical values:
- Example: "Cutting height (mm)", "Coverage area (m²)"
- Use when: Measurements or quantities are needed
Date Picker

Select dates:
- Example: "Last fertilization date", "Next inspection due"
- Use when: Date tracking is required
URL
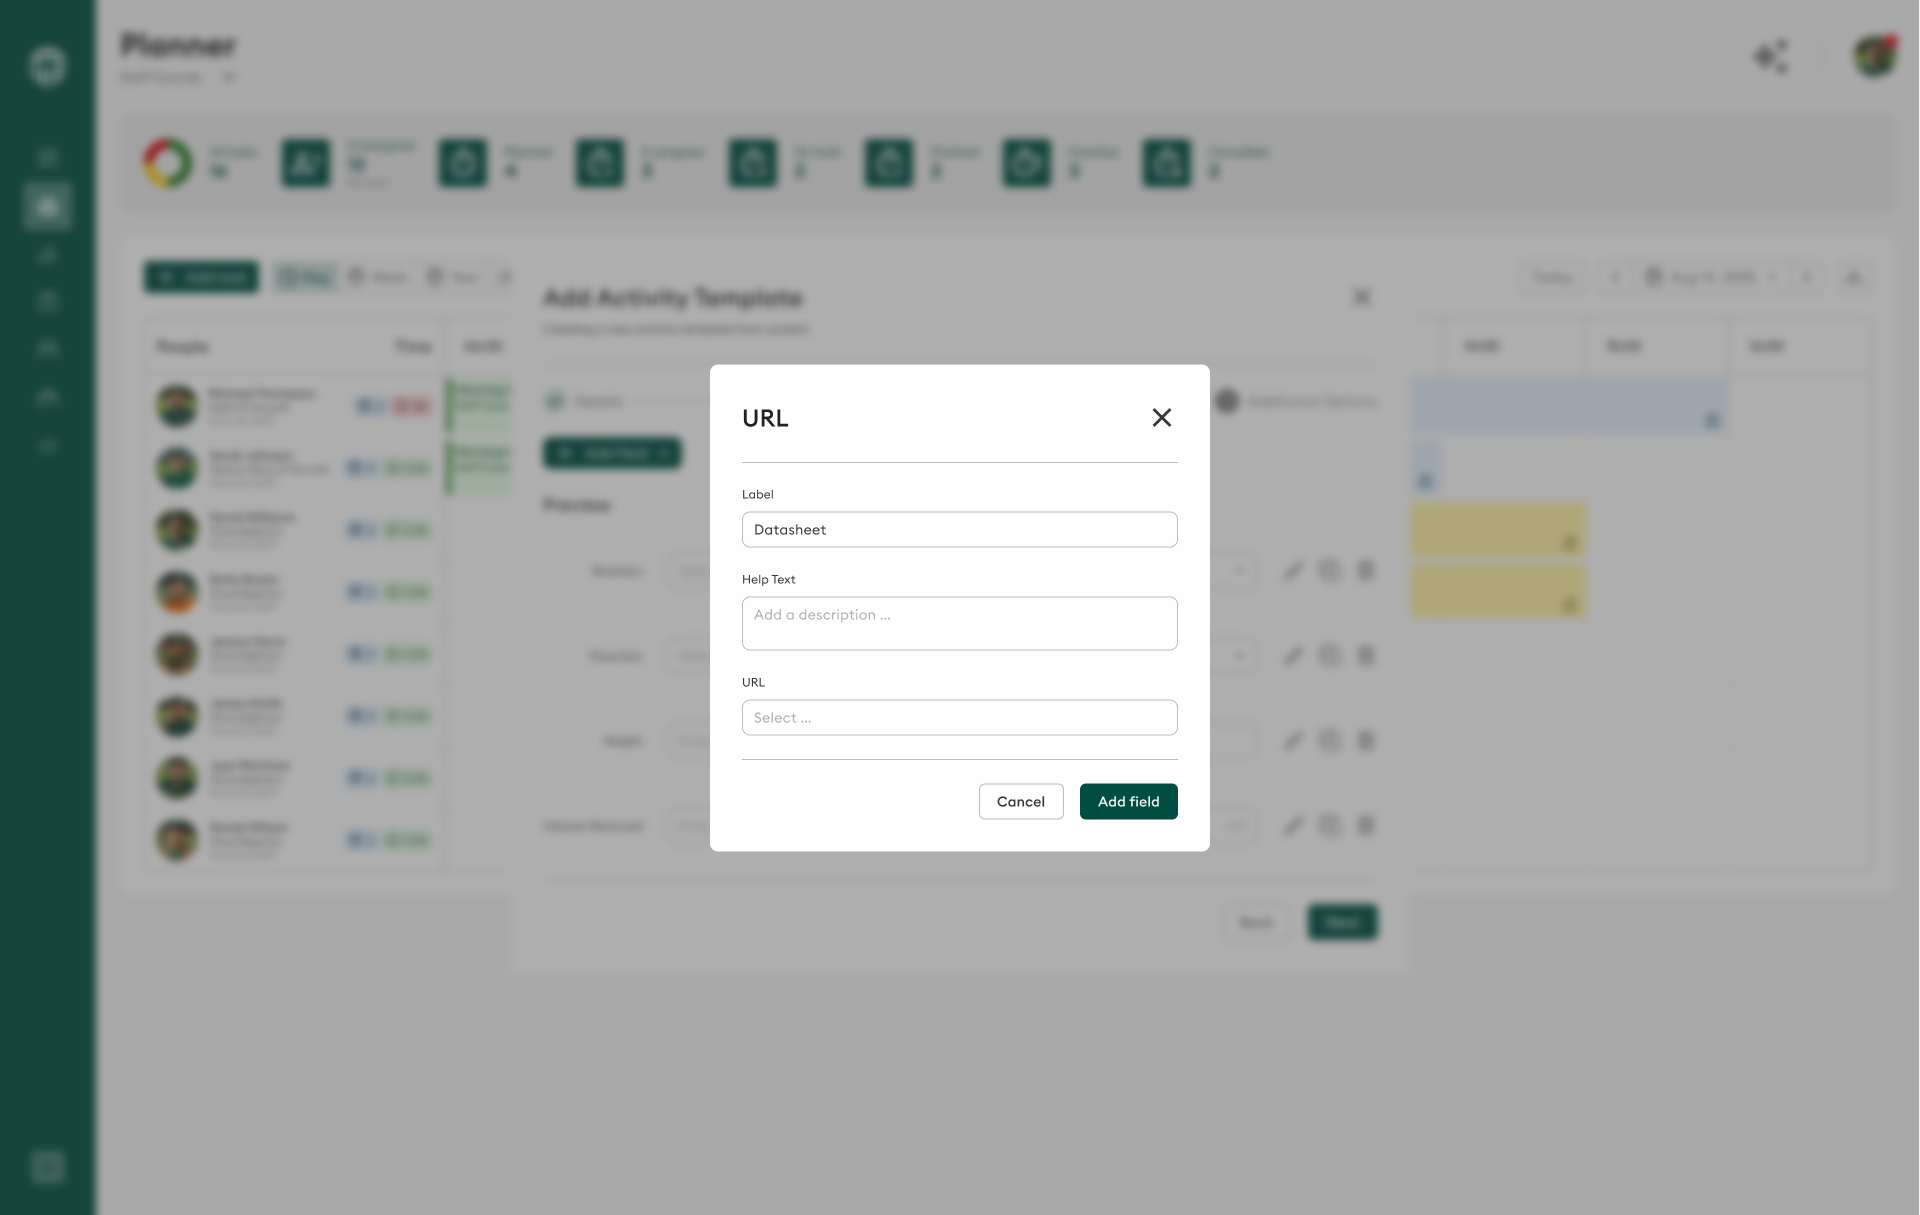
Link to external resources:
- Example: "Photo evidence link", "External report URL"
- Use when: References to external content are needed
Field Configuration
For each field, configure:
- Active: Enable/disable the field
- Allows empty: Whether the field can be left blank (uncheck to make mandatory)
- Name: Field label shown to users
- Reporting code: Internal code for reporting and analytics
- Control type: Choose from the field types above
- Data type: Specify data format (Text, Number, Boolean, Date, etc.)
Adding Field Options
For dropdown, radio, and checkbox fields:
-
Click "+ Add option"
-
For each option:
- Active: Enable/disable the option
- Name: Option display name
- Reporting code: Internal code for reporting
-
Use "+" to add more options
-
Use "X" to remove options
Field Configuration Examples
Example 1: Cutting Height
- Name: "Cutting height (mm)"
- Control type: Number
- Data type: Number
- Allows empty: No
- This ensures operators always record cutting height
Example 2: Turf Condition
- Name: "Turf condition"
- Control type: Single Option
- Options: "Poor", "Fair", "Good", "Excellent"
- Allows empty: No
Example 3: Applied Treatments
- Name: "Treatments applied"
- Control type: Multiple Choice
- Options: "Fertilizer", "Pesticide", "Fungicide", "Herbicide"
- Allows empty: Yes
Step 4: Save Your Template
- Review all settings across Details and Fields sections
- Ensure all required fields are configured correctly
- Click "Save" to save the activity template
- The template will now appear in the Activity Template list and be available in the Planner
Using Your Template
Once saved, your activity template will:
- Appear in the library for future use
- Be available when creating tasks in Day/Week/Year Planners (if active and approved)
- Present all custom fields to users during task creation
- Enforce mandatory field requirements
- Collect consistent data across all tasks using this template
Create a test task in the Planner using your new template to verify all fields and settings work as expected before rolling out to your team.
Best Practices
- Start Simple: Begin with essential fields, add complexity later
- Clear Names: Use descriptive field names that operators will understand
- Logical Grouping: Group related fields together
- Smart Defaults: Set sensible default values where appropriate
- Mandatory Fields: Only make fields mandatory if truly essential
- User Testing: Test with actual users before full deployment
- Documentation: Add instructions or help text for complex fields
- Regular Reviews: Update templates based on user feedback
Consider creating a naming convention for templates (e.g., prefix with department or surface type) to keep your library organized as it grows.
Next Steps
- Edit Activity Template: Learn how to modify existing templates
- Activity Template Overview: Understand the full activity template system
- Create tasks: Use your template in the Day/Week/Year Planners
By following this guide, you'll create effective activity templates that streamline task creation and ensure consistent data collection across your turf management operations.